This "glue" helps the dough hold together for filling, which can be a challenge when making gluten free raviolis, dumplings, etc.
Place the 1/2 cup water and 1/4 flour in a small pan and whisk together until lump free. Over medium heat, continue whisking until it becomes thick and sticky and pulls away from the sides of the pan in a stringy fashion.
Set aside to cool.
Scrape the cooled flour glue into a mixing bowl and add the sour cream (or yogurt). Beat with paddle attachment until smooth.
Add the remaining dough ingredients and mix on slow until ingredients are combined. Increase mixer speed and beat for 5-7 minutes on medium-high until smooth and fluffy looking.
The dough will be pretty sticky almost like a brownie batter. That's OK. Scrape dough down into the bowl, cover and refrigerate for at least an hour. If desired, this dough can be made a few days ahead of time and kept in the fridge.
Mix all filling ingredients in a bowl and set aside.
Note: I like to create my own fillings with things like mashed potatoes, cheddar cheese, crumbled bacon, sauerkraut. You name it!
When ready to fill the pierogi, place about 1/4 of the dough on a well floured board. Knead gently incorporating enough flour to form a smooth ball. Using a rolling pin, roll the ball into a round about 1/8-1/16 inch thick.
Using a drinking glass or round cookie cutter, cut circles from the dough. Pull away the scraps of dough around your cutouts and add them back to the bowl and cover so they don't get overly dried out during the next step.
Dip your finger in water and spread around the edge of one half of a circle of dough. Place 1 tablespoon of filling in the center of the round and fold so the wet edge matches up with the dry edge. Lie on a floured surface press the edges together gently. You can use a fork to crimp he edges but be careful not to poke holes in the dough or press too hard. Use your hand to flatten the pierogi a little. This will give help it make better contact with the frying pan when you fry them later.
Set finished pierogi aside on a floured area of your board and continue to form 4 or 5 more. I usually do this part in conjunction with the boiling step in batches of 5 or 6. While one batch boils, I form the next batch.
Bring 2 quarts salted water to a gentle boil and carefully lower the raw pierogi into the water. Cook for 1-2 minutes until they float. Using a slotted spoon, remove from water and place on a greased sheet pan to cool.
Note: You can stop at this point and eat your pierogi OR you can wrap them and freeze or refrigerate them to fry and serve later.
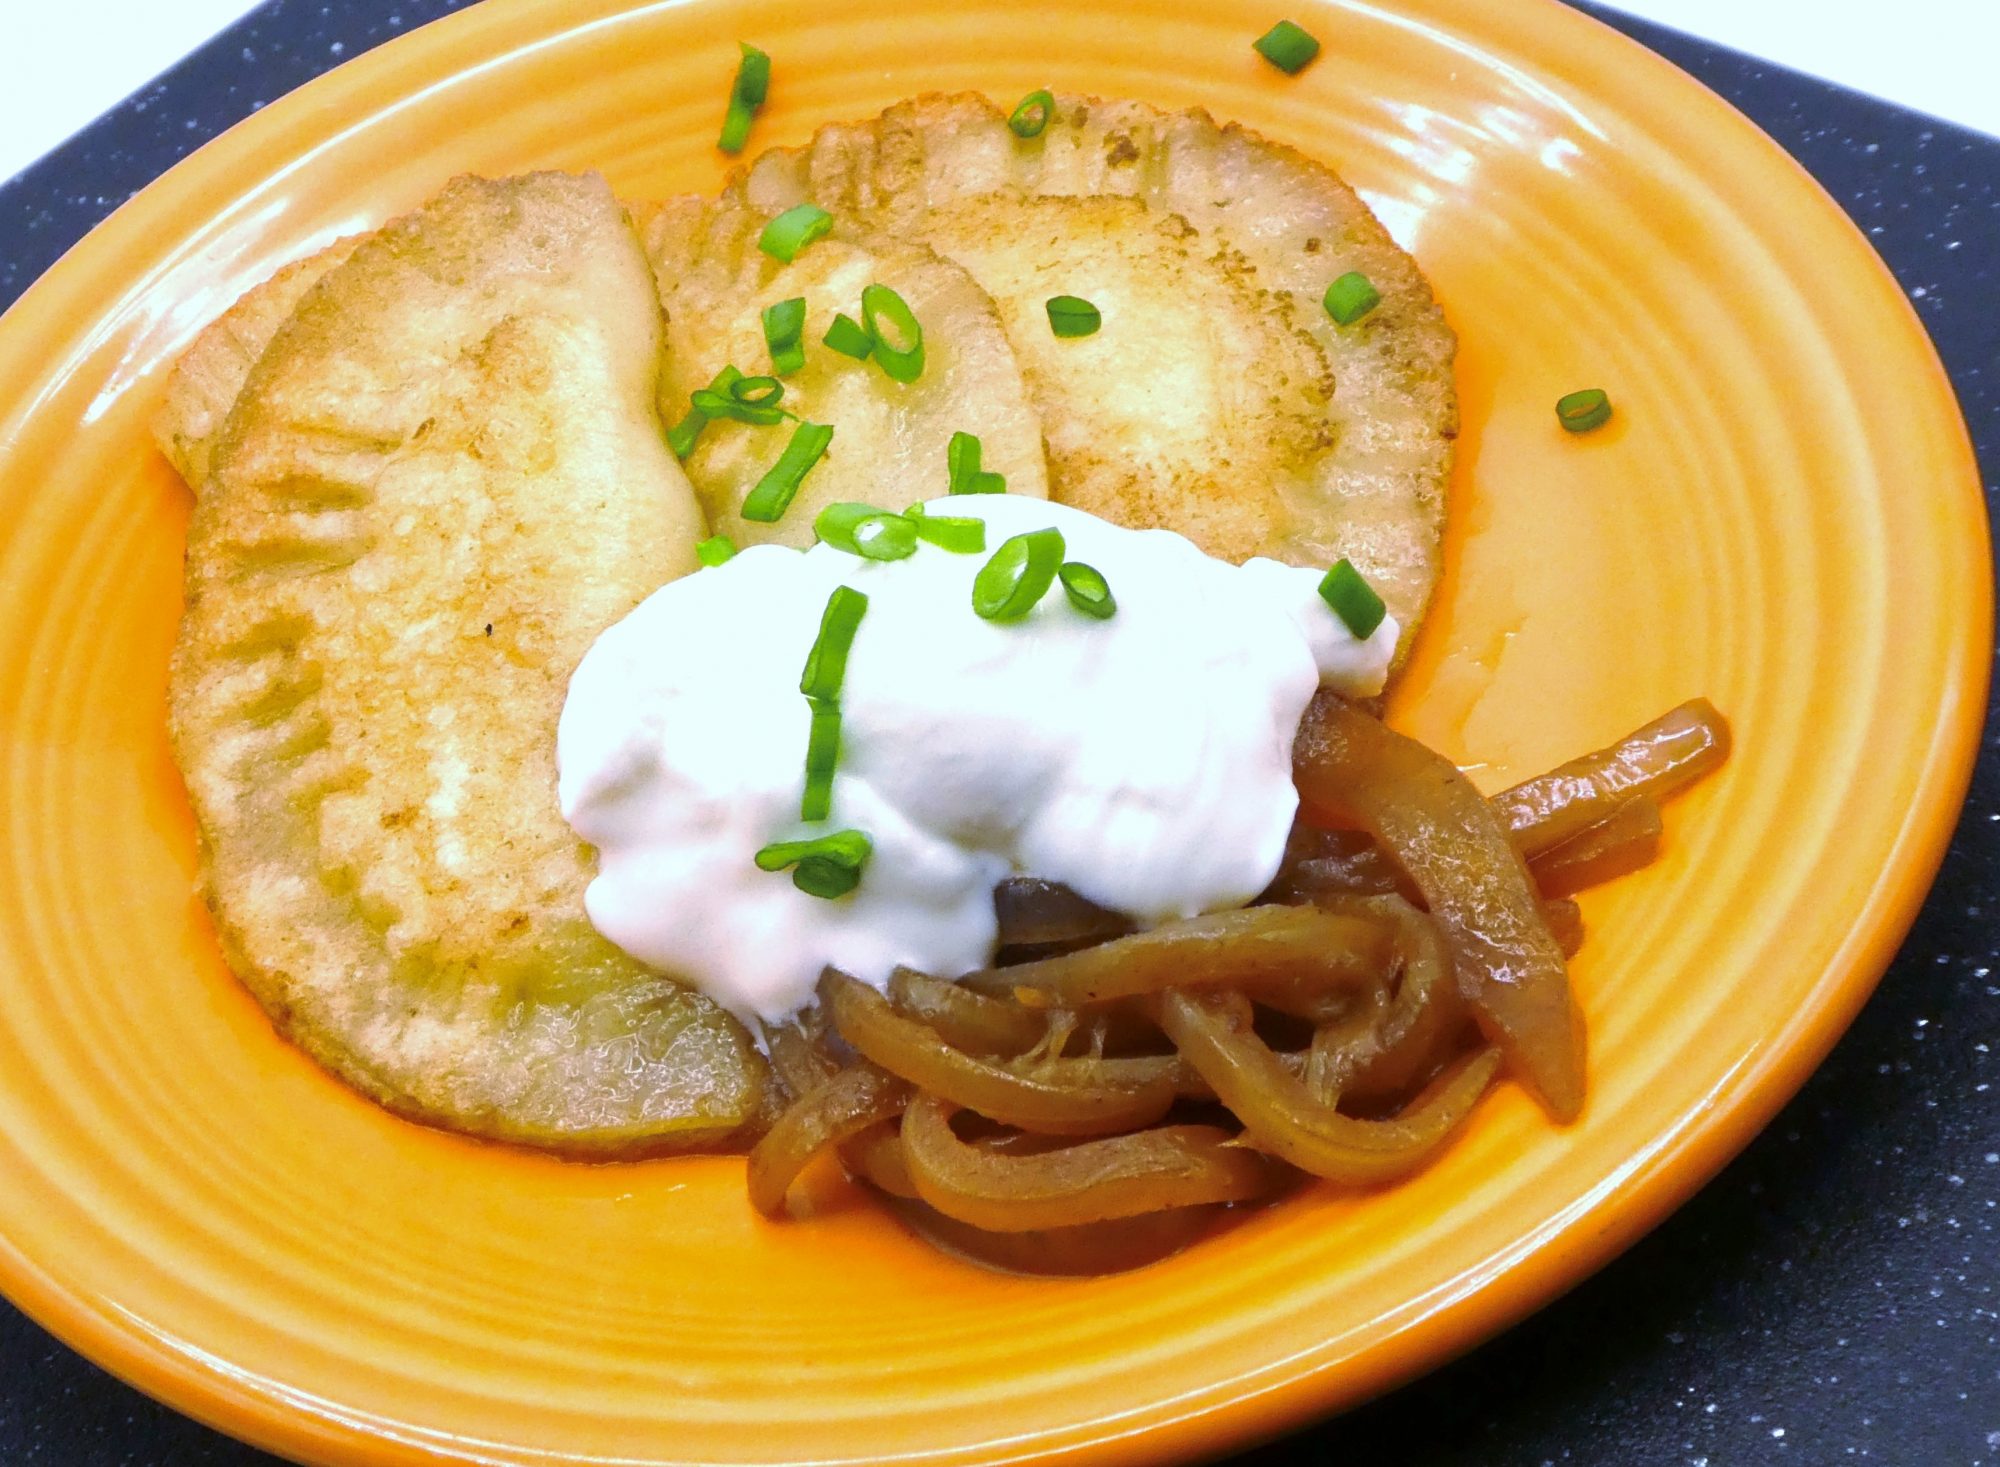
Pierogi can be eaten just boiled, but I like to fry them.
Heat a tablespoon or two of vegetable oil and a bit of butter in a heavy stainless steel or cast iron frying pan over medium high heat until hot. Fry pierogi in batches browning both sides and keeping warm in the oven until all are fried.
While the pan is still hot, you can fry up onions and/or sauerkraut to serve with pierogi. Garnish with a bit of sour cream or greek yogurt for dipping. Pierogi are frequently served with applesauce as well.
Servings 0